Pineapple coconut choc ice

Who does not love ice cream? Well there might be a few of you out there but generally ice cream is loved by many people. It’s a great way to make people happy and when you make an ice cream that is just more than ice cream—well then it can do some amazing things. There is a TED talk I recently watched: Anil Seth talks about how your brain hallucinates your conscious reality. It’s worth watching—really! Back to the pineapple coconut choc ice—if that’s what my brain is hallucinating when I’m eating this choc ice—I want to eat lots more of it!!!
For me food should be really easy to make, it should not be a science experiment and the ingredients list has to be as minimal. This ice cream has only four ingredients and no added sugar. You don’t need an ice cream machine—just a simple blender will do, a small rectangular mould of some kind or something similar and some time.
Ingredients - ice cream
130g dried pineapple—I dehydrate my own pineapple because freshly dehydrated is even better
1 can of full fat coconut milk—don’t try using the ‘light’ version
4 dates
Method - part 1
Add everything into your blender and if it’s not a powerful blender leave it in there for a few hours and then blend until everything is nice and smooth.
Pour the thick liquid mixture into the mould of your choice and put it in the freezer to set. Leaving it overnight is a good idea or make it early in the morning to use in the evening.
Now you could just remove it from the mould and eat it as is but I think you’re going to miss something amazing if you do.
Ingredients - chocolate coating
- 30-60g chocolate of your choice—I used 100% chocolate buttons. Use enough chocolate to lightly coat the ice cream bars
Method - part 2
Take out the ice cream from the mould and cut it into bars and put it back into the freezer for now.
Break chocolate and place into a dry heatproof container that will be large enough for the ice cream bars to be dipped in flat. I used a small flat steel dish with high sides. Sit it over a pan of barely simmering water (a bain marie) and allow the chocolate to melt, stirring occasionally. I used chocolate buttons so there was no need to break them. I also used a 100% chocolate as I think the ice cream is sweet enough already, and I love dark chocolate.
Once the chocolate has melted, remove the ice cream bars from the freezer. You now need to work quickly here and it might get a little messy.
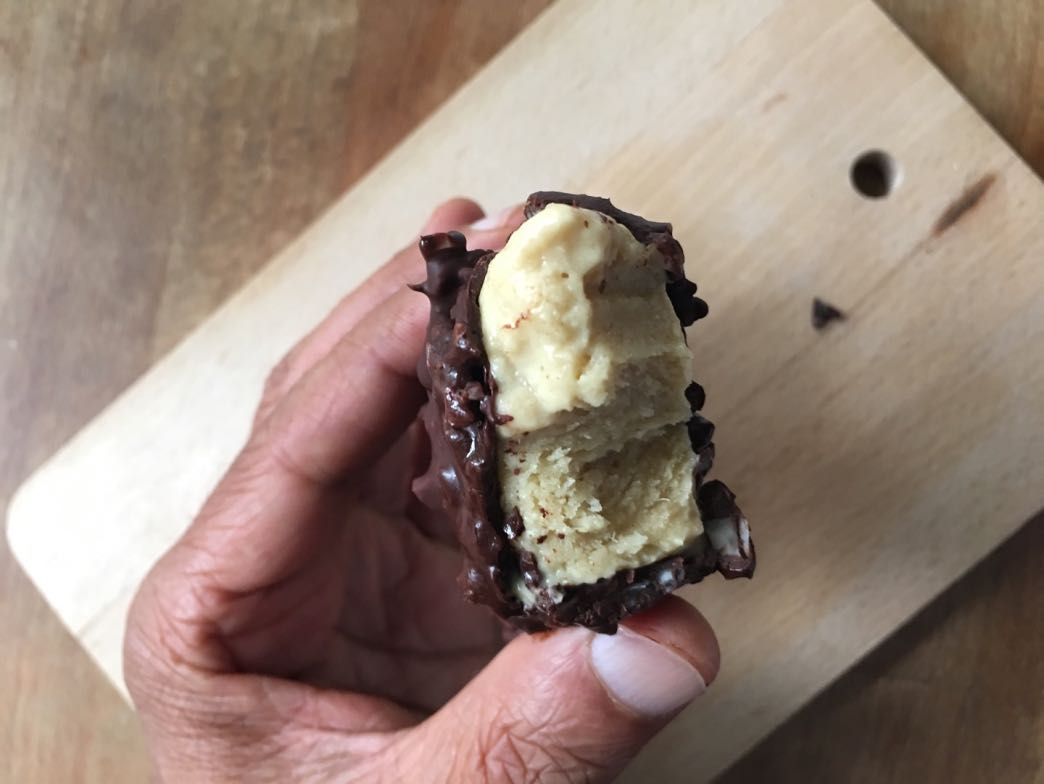
Grab the edges of the bar with your *fingers (lightly) and dip the underside of the bar into the chocolate and remove it quickly. The chocolate will start to harden fairly rapidly. Now do the opposite side and then the two ends.
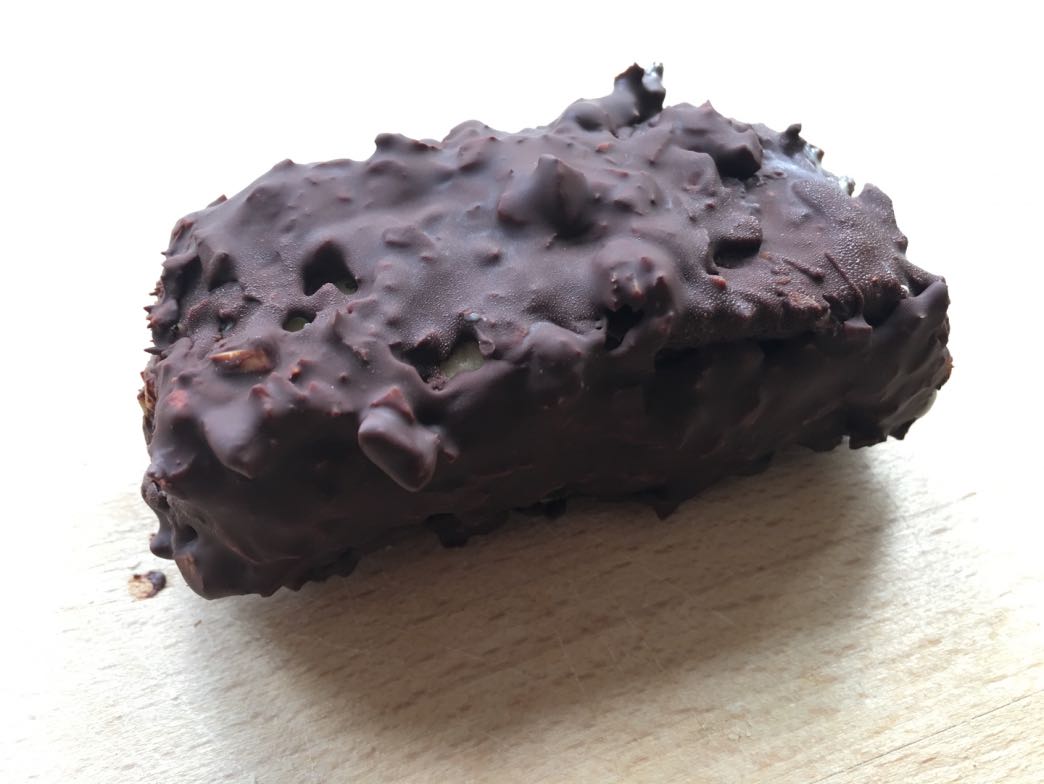
Lay the bar on a plate and just wait a short while until the chocolate as hardened on two long sides. Now lightly grab the chocolate coated sides with your fingers and dip the underside into the chocolate and remove quickly, and now do the opposite side. Place the bar on the plate—make sure you place the ‘hardened’ side down.
Repeat the above two steps for the rest of the bars.
Important! If the bars start to melt or you take too long to dip the bars into the melted chocolate you risk ‘seizing’ the chocolate. The melted chocolate will become thick because it has come into contact with small amounts of liquid. That is why it’s important you work quickly and keep the bars frozen as much as possible. If the chocolate has seized make a fresh batch of melted chocolate.
Don’t look for perfection when coating the bars—quirkiness is good here :)
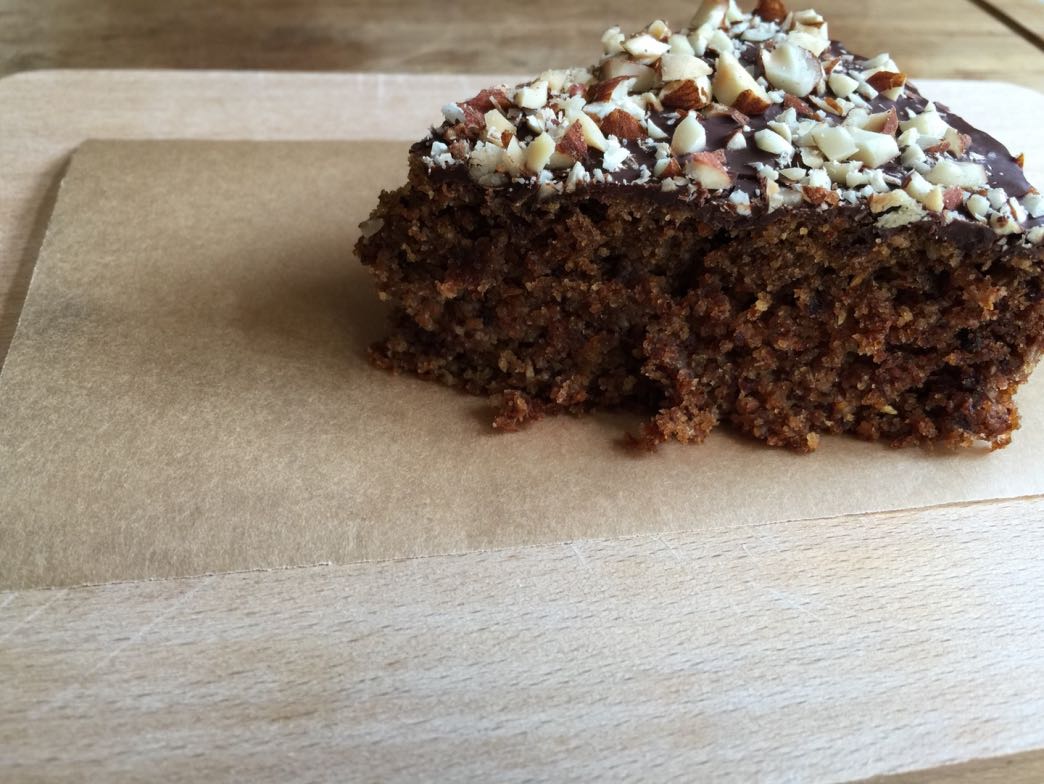
 This version also has chopped almonds in the chocolate coating
*You could use tongs to hold the bars but the bars could slip from them.